
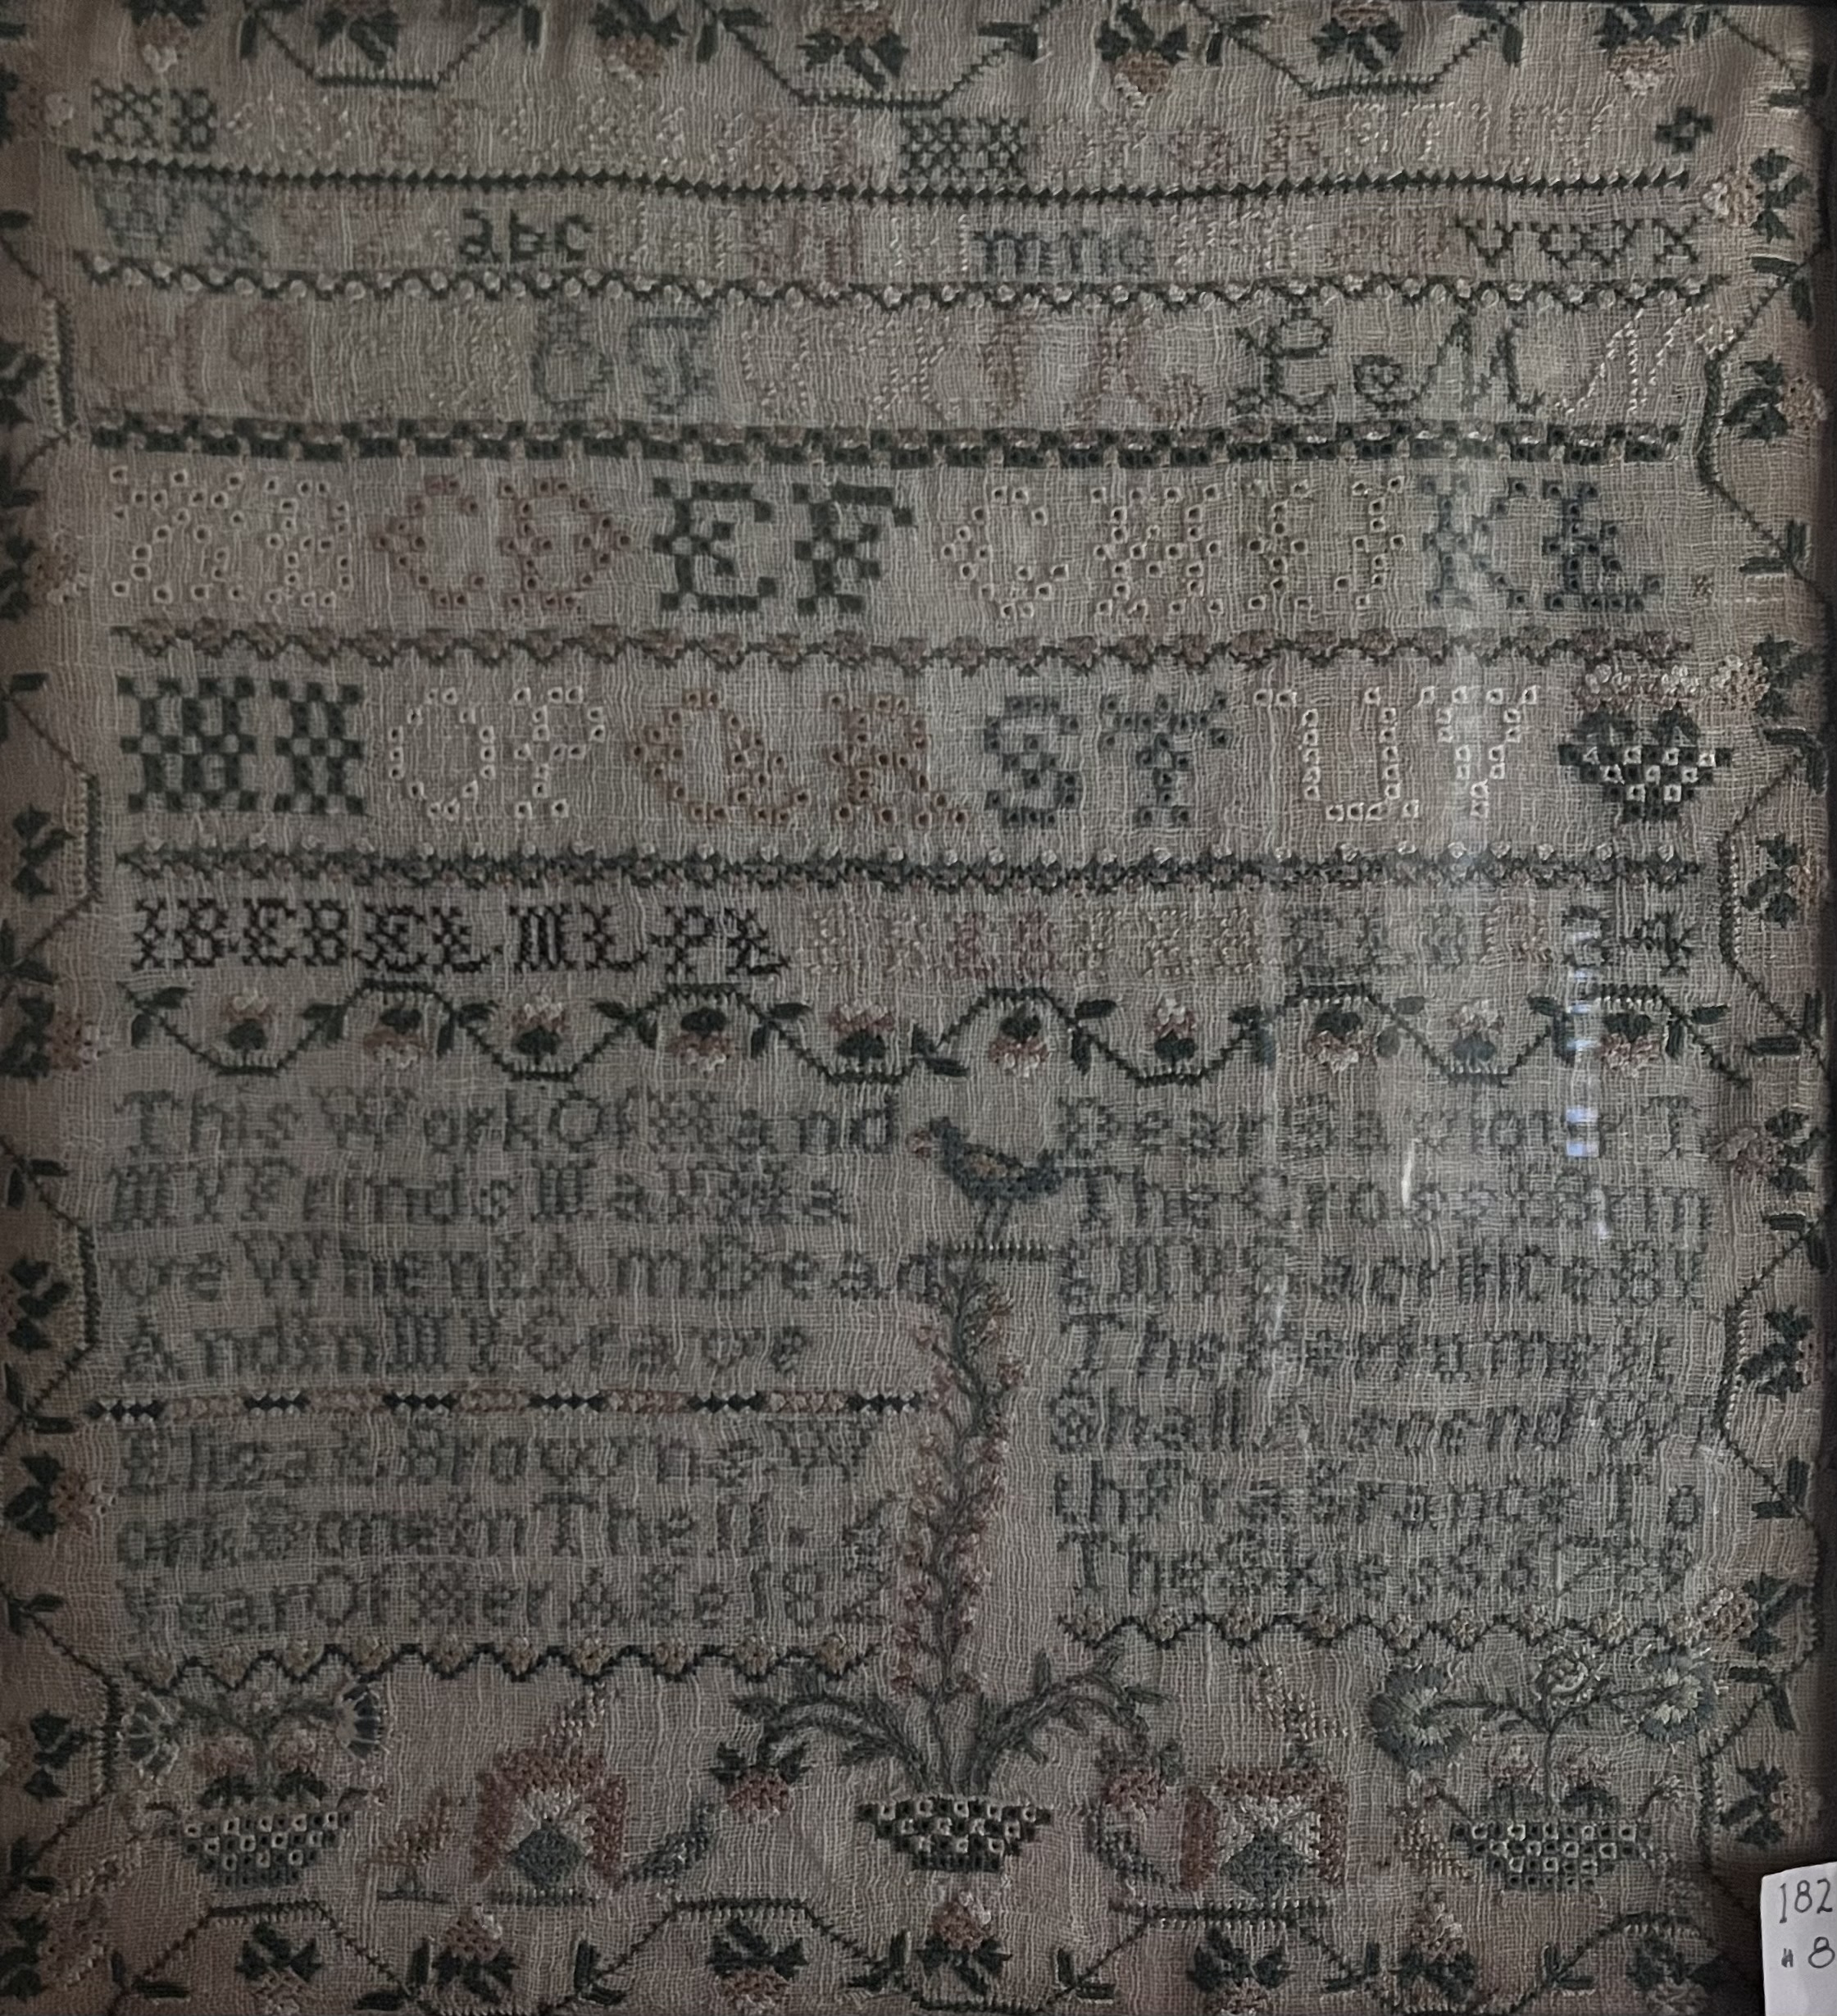
Sampler Craft Idea:
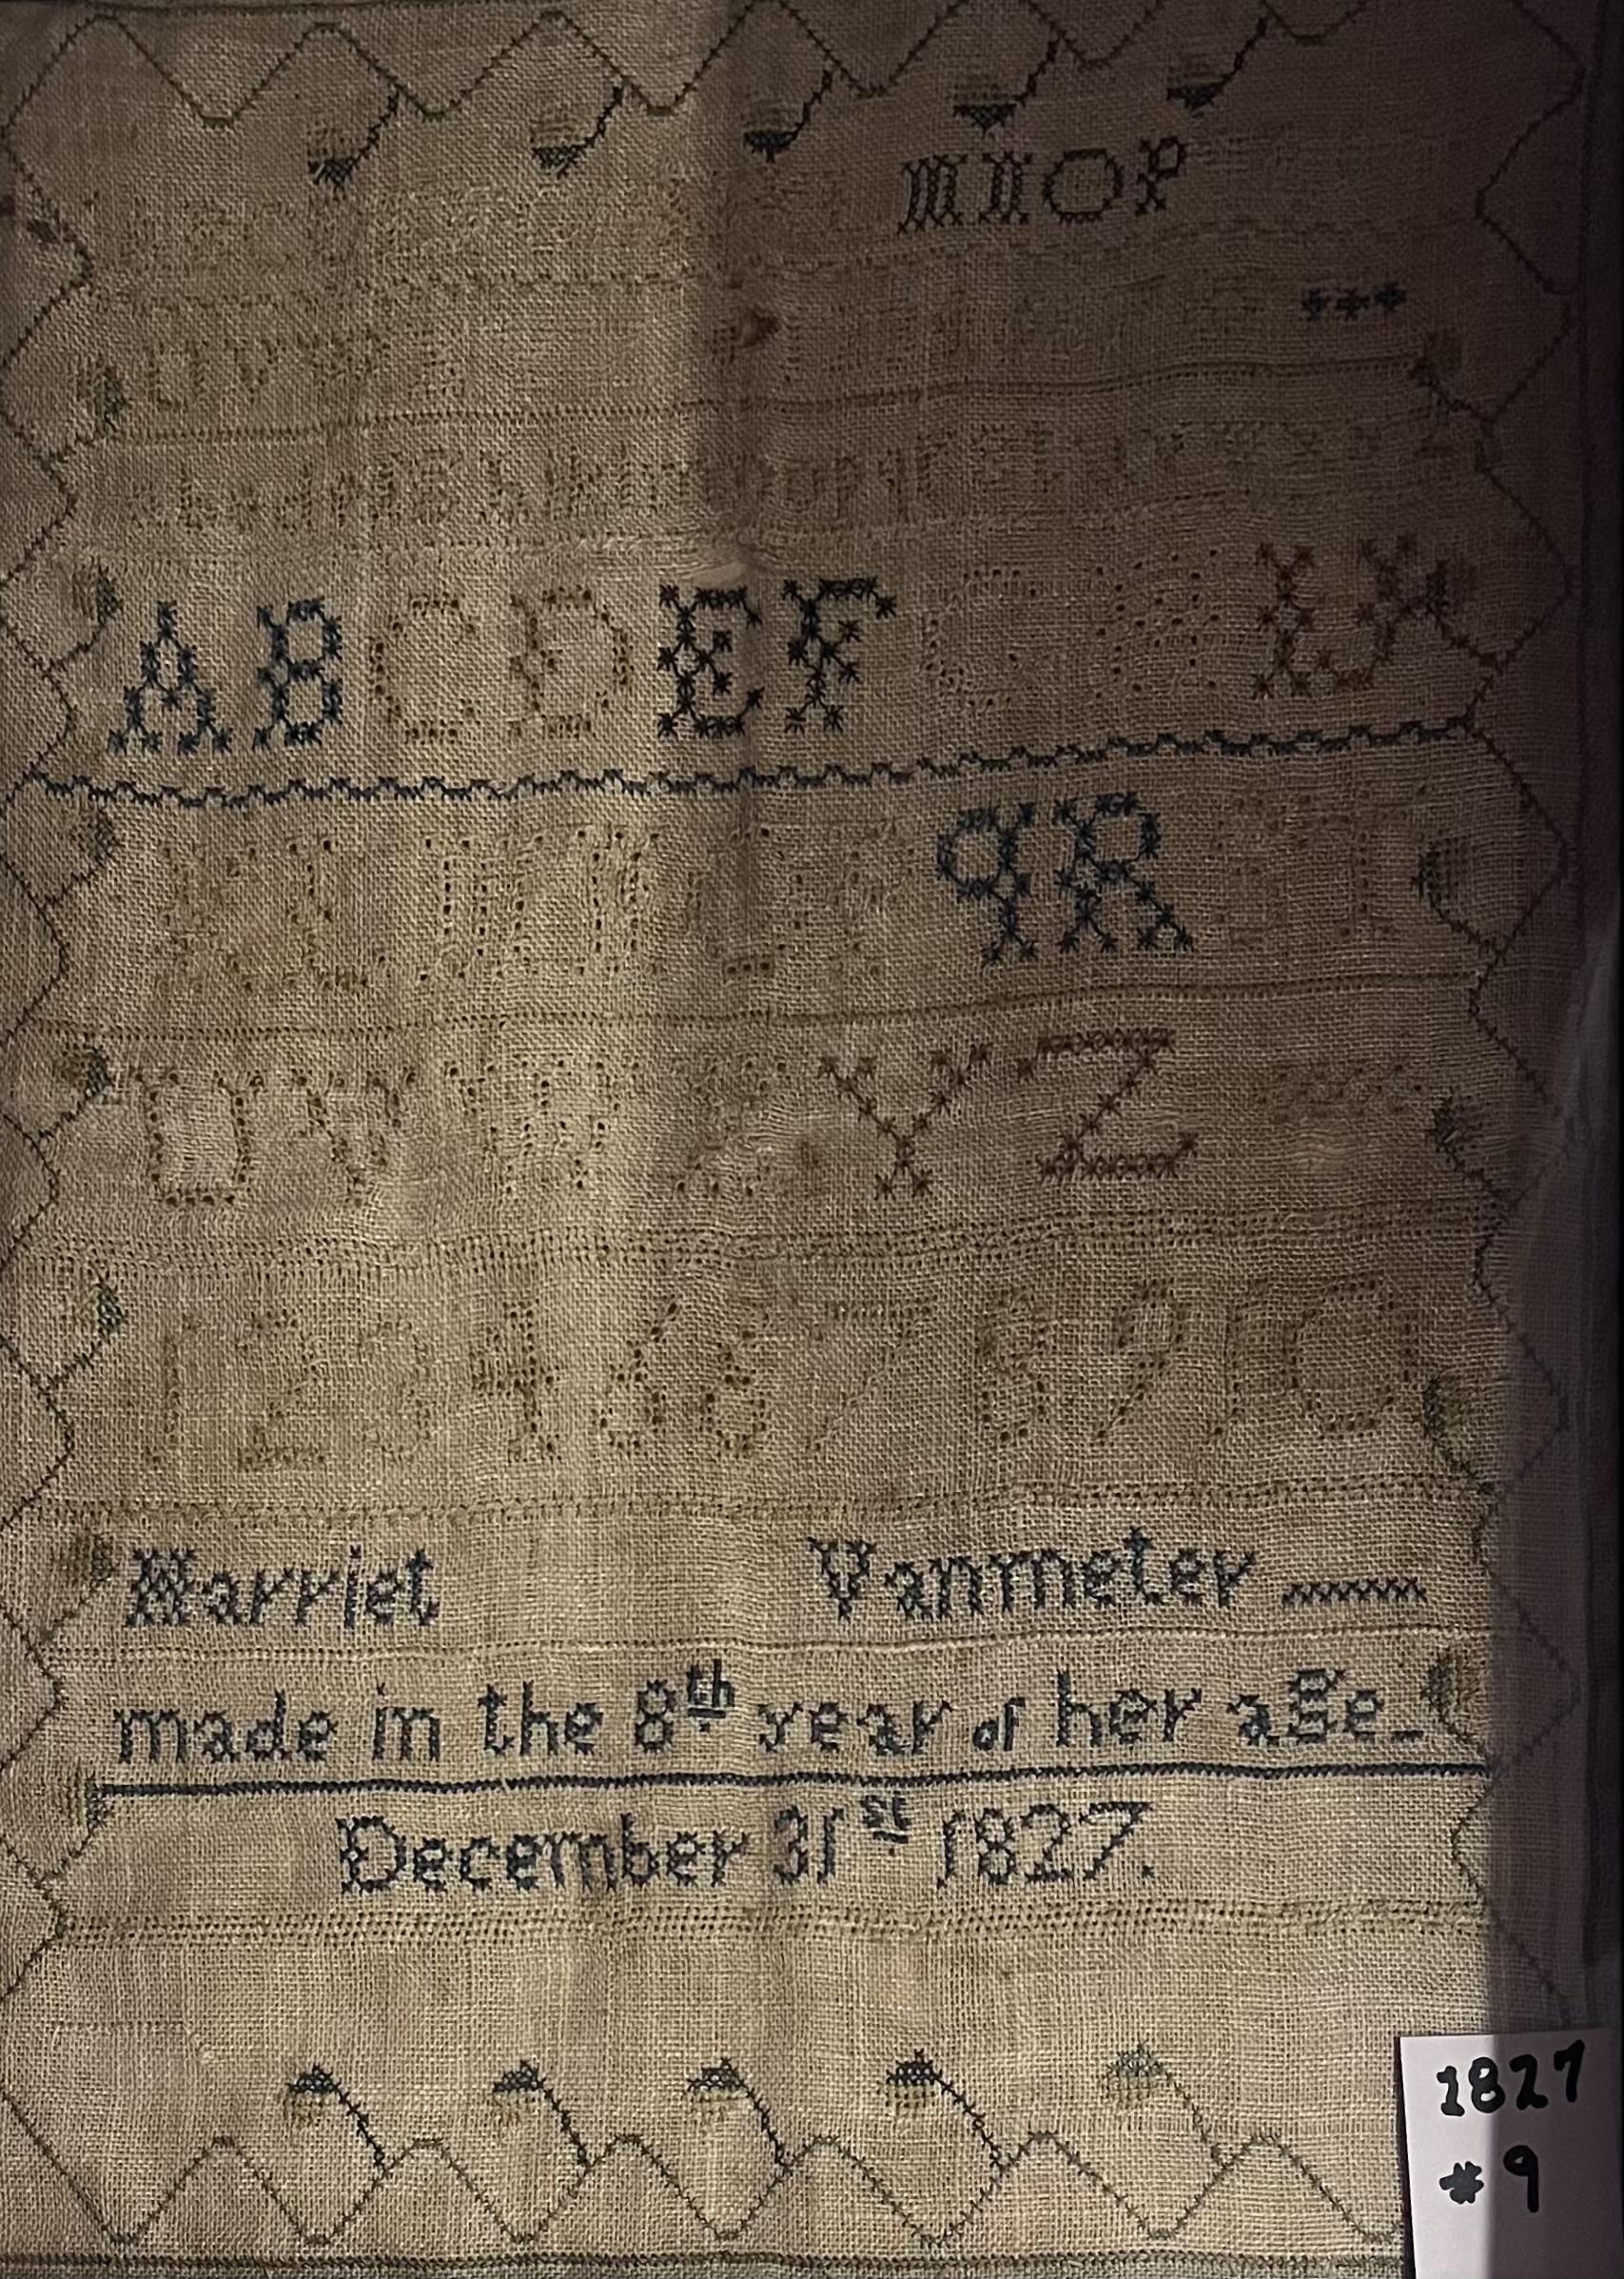
Needlework in colonial America was a skill that had to be practiced and perfected at a young age so women, who often became wives and mothers, could efficiently run their households. Samplers are examples of early education for girls in the colonial era. Using stitches and needlework, girls would embroider the alphabet, numbers, family symbols, their names, and more onto fabric that would be displayed proudly in the home – this practice in skillful stitching led to wives that could repair their husbands’ clothing, and mothers that stitched new pieces for their babies.
Make your own sampler at home! Here are some ideas:
–Classic Colonial: Pull out all the stops with the alphabet, numbers 1-10, your name, age, and town. For added embellishment, embroider a symbol (for instance, an animal) to represent you or your family.
–Storytime: Stitch “Once Upon A Time” followed by images representing a story – for example, 3 pigs and a wolf, a turtle and a hare, etc. Use your imagination!
You can practice using a needle and thread on fabric held taut by an embroidery hoop, or on a painting canvas (note: only works on canvases with exposed backing)
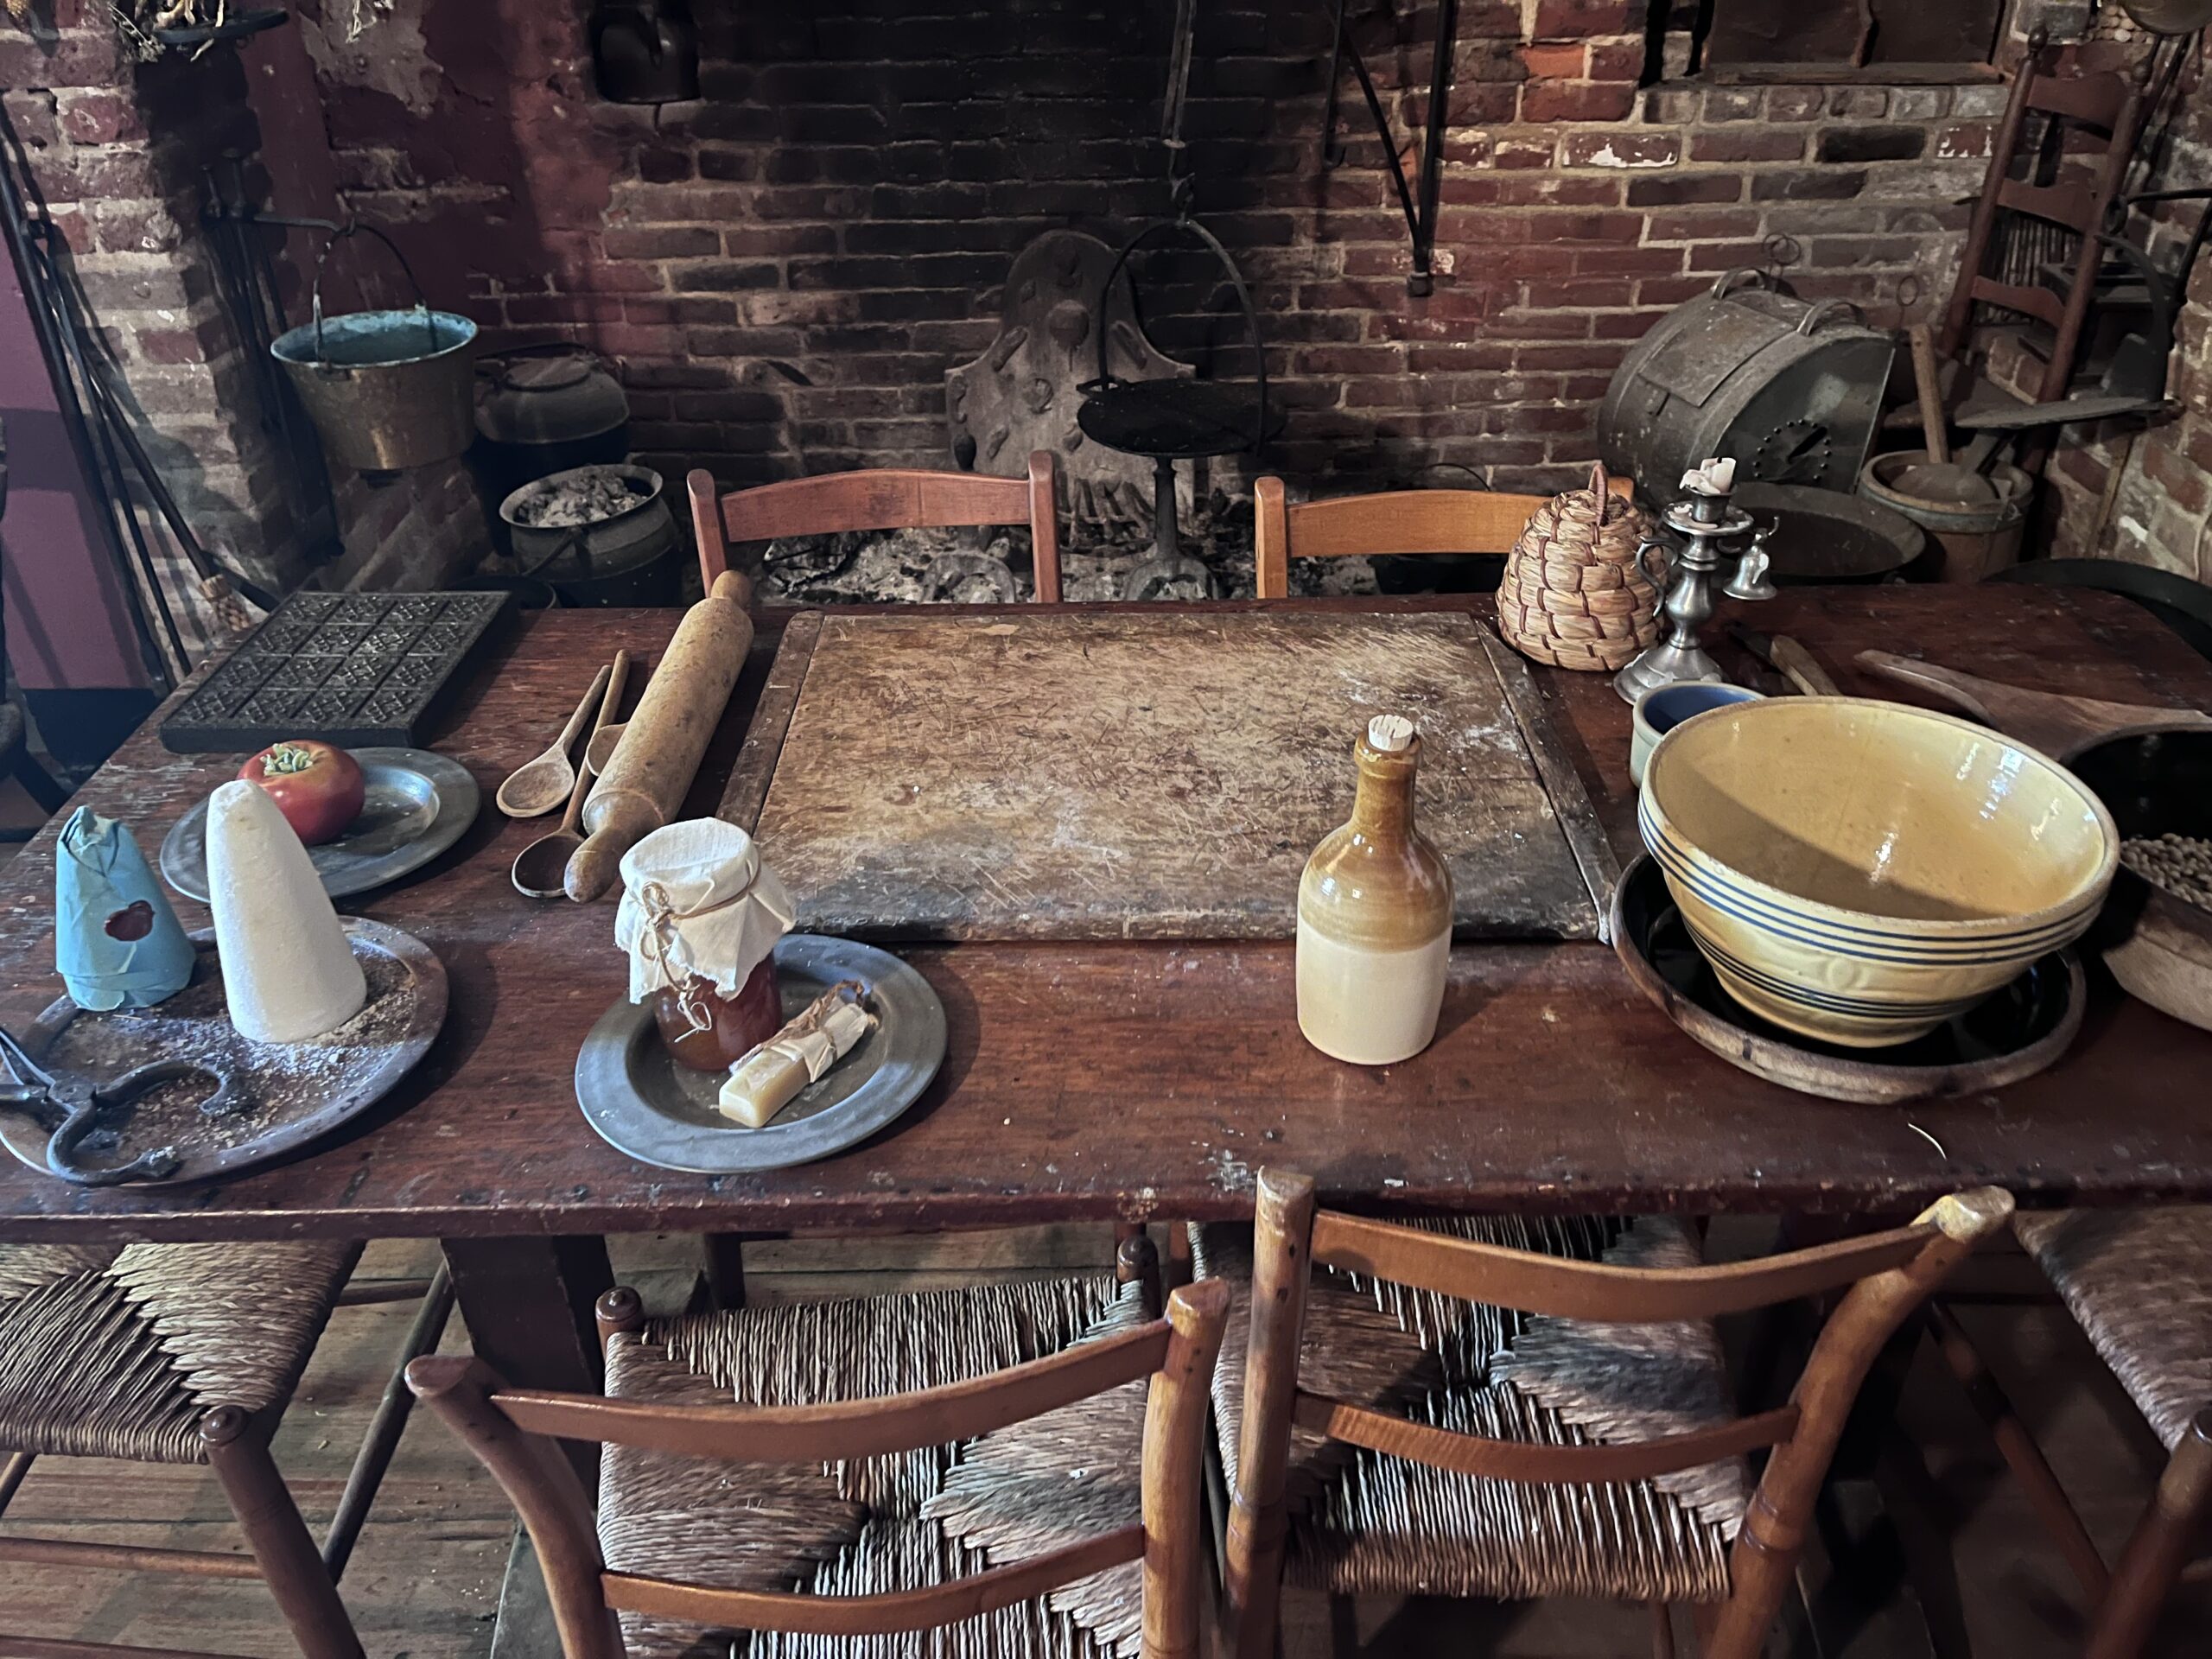
Hearthside Cooking:
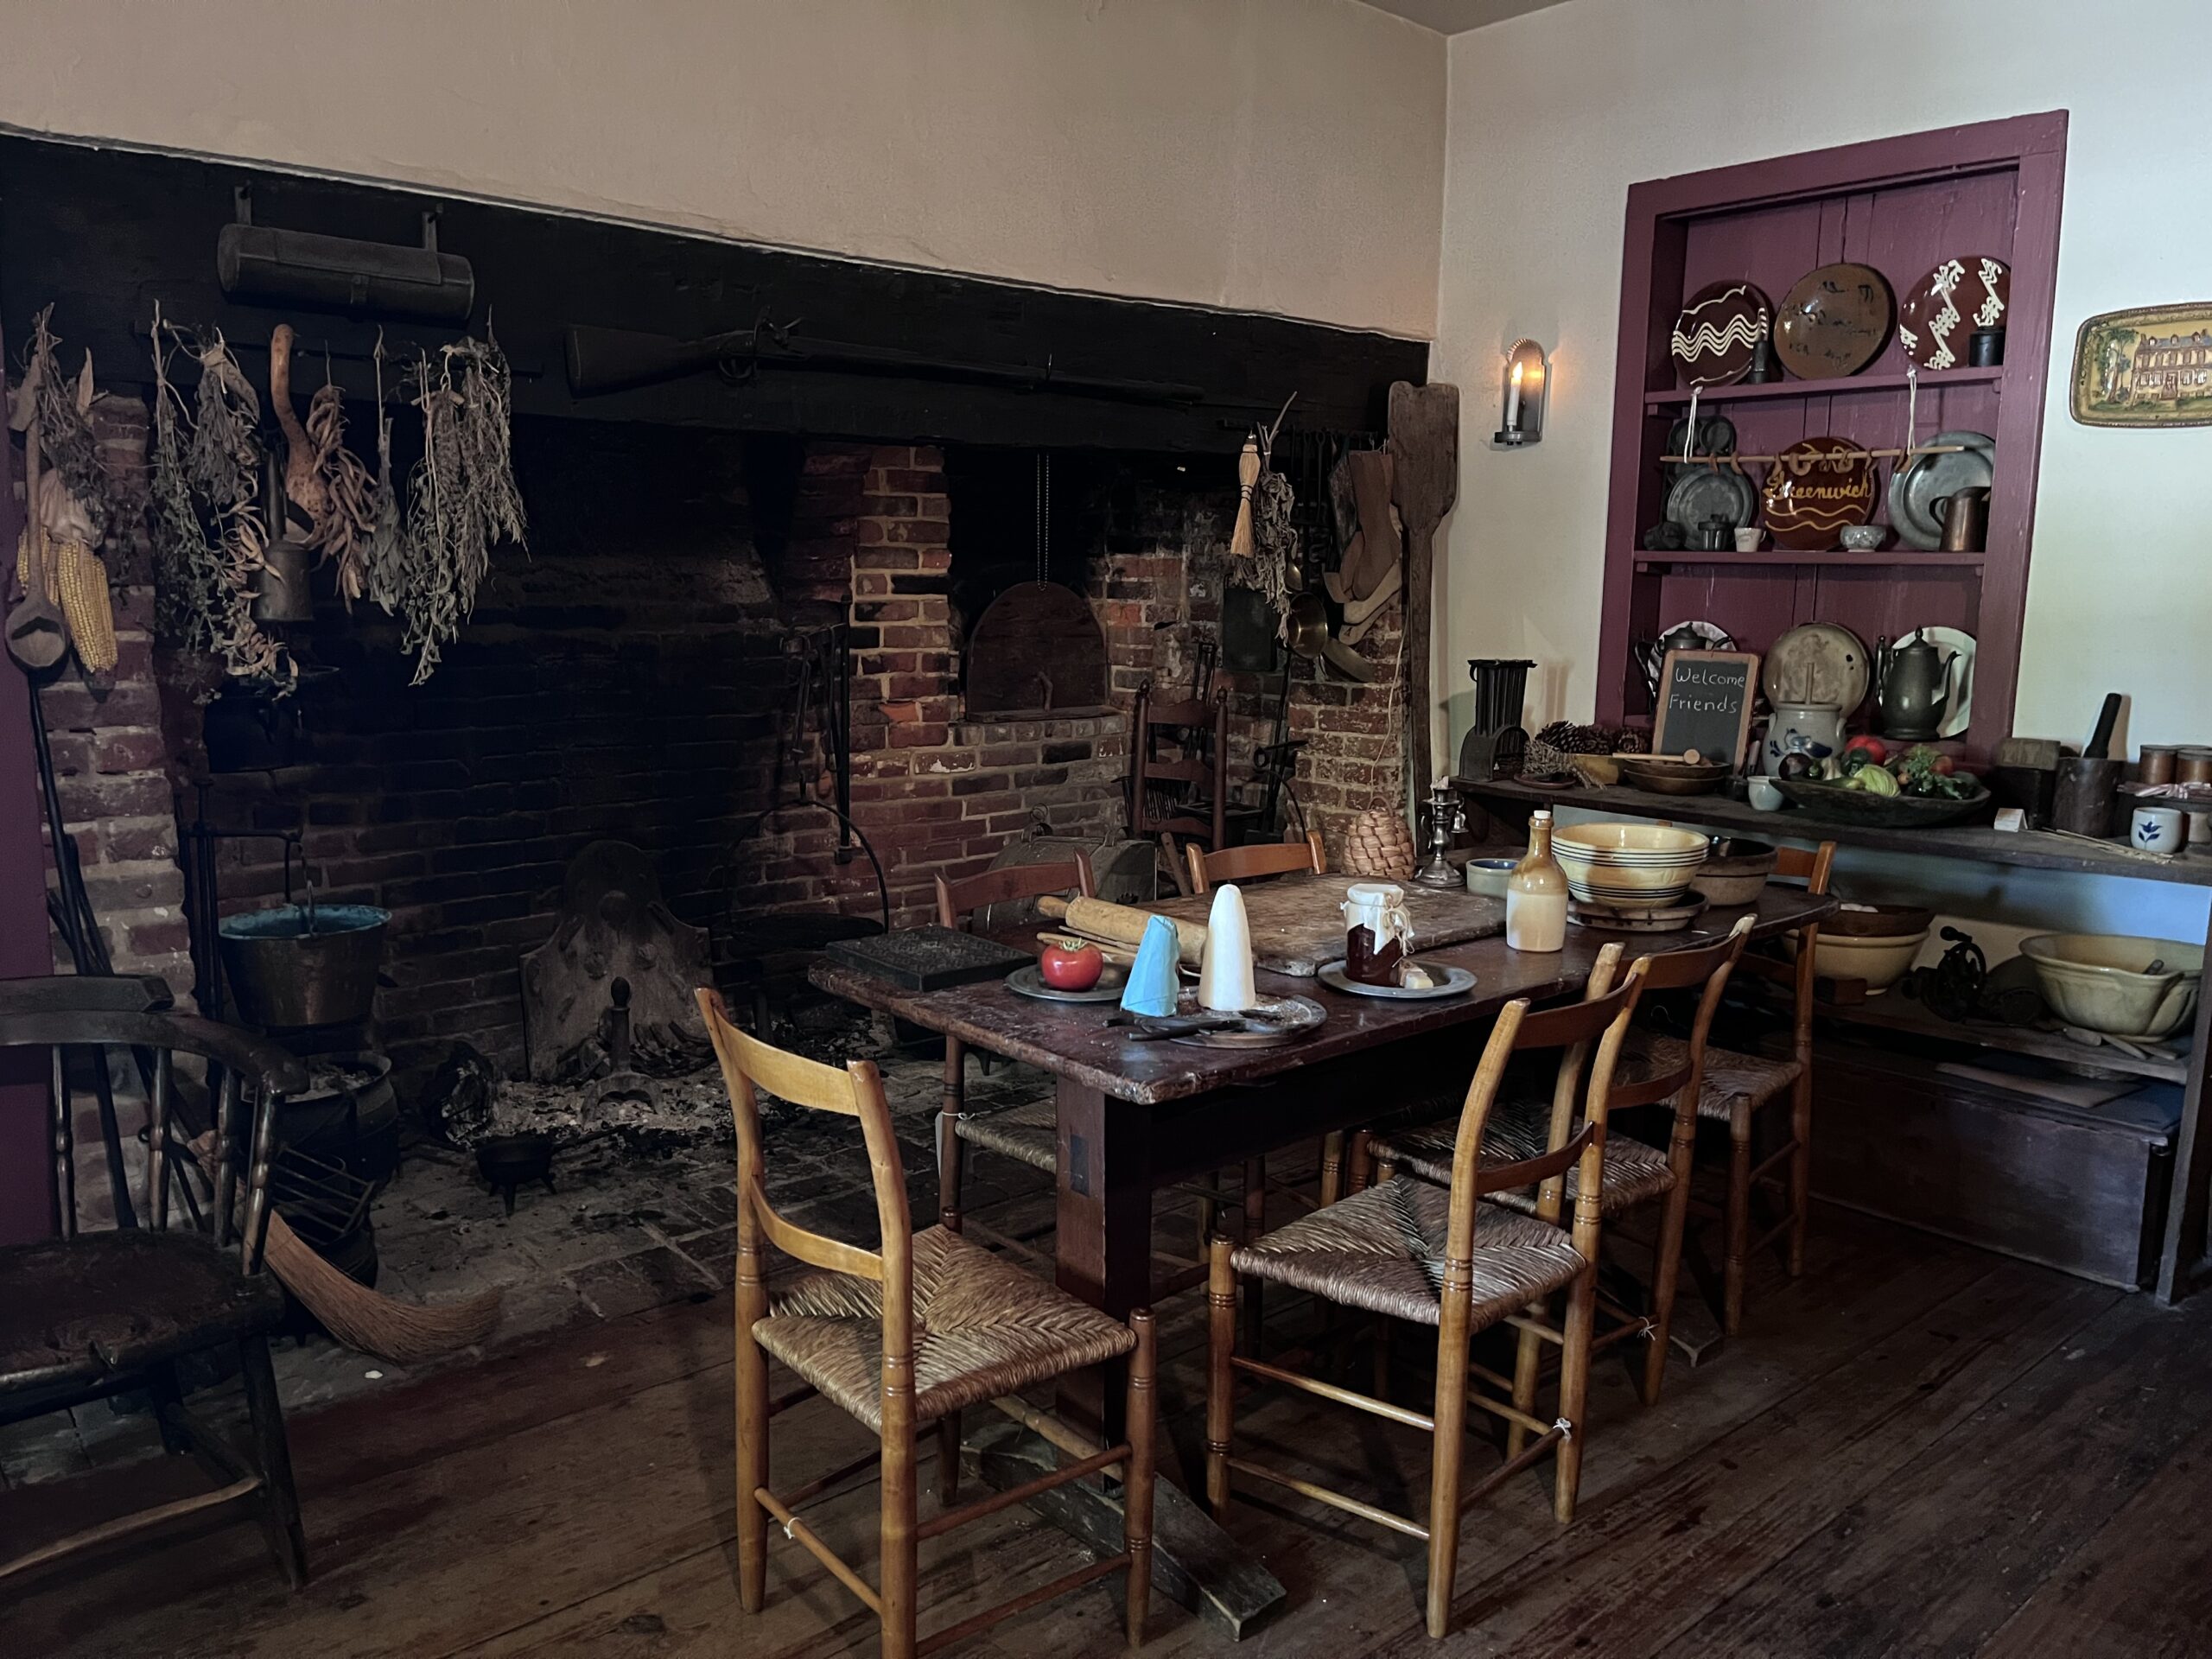
Food was at the heart of colonial America, and the hearth – or the kitchen – was the heart of the home. Of course, you likely don’t have a colonial-style kitchen like the one at The Gibbon House (1730) [insert picture somewhere] but that does not mean you can not embrace colonial tradition!
Though the methods may not be the same, you can recreate recipes from early American history. Bonus points if you work with locally grown/raised produce and meat – many colonists did not have easy access to food outside of their own farms, those of their friends/family, or markets, so their choices were often limited to what was around.
Here are some examples of colonial recipes:
Jam:
Foodways in colonial America were worlds different than they are today. Colonial Americans could not visit a local supermarket and pick from a variety of fruits and vegetables, regardless of the season – their diets were dependent on the weather, what could be grown locally, and the money they did or did not have to travel to trade ports and purchase “exotic” goods.
People in early New Jersey developed processes of preserving fruits and vegetables to eat throughout the year, mainly by using glass jars. Glass was a popular product in South Jersey, because it could be made from the fine sand at the local beaches – plenty of glassworks are on display at The Gibbon House, Greenwich, NJ.
This recipe is developed for modern resources, namely the refrigerator. This jam is meant to be kept cold, but the process of collecting in-season/local fruit and preserving it is reminiscent of food processes in the colonial era.
Making Fruit Jam (16 oz.):
- Cut up fruit (about 5 cups) and place in a large bowl; cover with ¾ cup of granulated sugar, cover, and let sit in the fridge for at least an hour (ideally overnight)
- After letting the fruit and sugar sit, add 3 tablespoons of lemon juice
- Place into a non-reactive saucepan (to avoid any metallic taste/discoloration) over medium heat; as it cooks, break the fruit down into smaller pieces with a potato masher or a large fork
- When sugar is fully dissolved, turn to high heat and stir for 15-20 minutes, until it gains a thick consistency
- When done, turn off the heat and place into your glass containers; let cool, and store in the fridge for up to 3 weeks
- **TIP to check if jam is done, place a small drop onto a cold plate. Let it cool, then draw a line through the jam with a spoon/finger; if it is a clear line with clean edges, it is ready.
Source: Yumna Jawad, “How to Make Jam,” Feel Good Foodie, https://feelgoodfoodie.net/recipe/how-to-make-jam/
Homemade Butter:
Cows have always been a farm staple, though not for the reason you may be thinking: until the late 1800s, it was dangerous for people to drink cow’s milk because, in its raw form, it carried diseases dangerous for humans. The process of pasteurization makes milk drinkable, but before this was developed people would use milk primarily for baking purposes and, very importantly, to make butter.
Making Butter by Hand:
- Measure a pint of heavy cream and leave out for about an hour, or until room temperature
- Pour cream into a jar with a tight-fitting lid (ie a mason jar). Start shaking.
- As you’re shaking the jar you will hear sloshing, then the sound of more solid chunks hitting the sides as the butter solidifies. Once the butter has solidified, separate it from the liquid (buttermilk), which can be saved for future baking.
- Press the solid butter into a bowl/container and rinse with ice water while pressing to remove excess liquid. Remove the buttermilk as it appears, and repeat this process until the ice water runs clear.
Source: “Homemade Butter,” Peaceful Heart Farm, https://peacefulheartfarm.com/homemade-butter/